
Johns Manville Radiant Barrier Installation: The San Jose Owner’s Guide
If you’ve got a Johns Manville radiant barrier that’s sagging, torn, or peeling away from your rafters, we install and replace it in San Jose homes every week. Expect to pay roughly $1.50 to $3.00 per square foot installed, depending on whether we’re doing a single-side or double-side foil product, and whether your attic has standard framing or a lot of angles and obstructions. Most replacements take one day, and we roll onto San Jose jobs with Johns Manville-compatible material already on the truck.
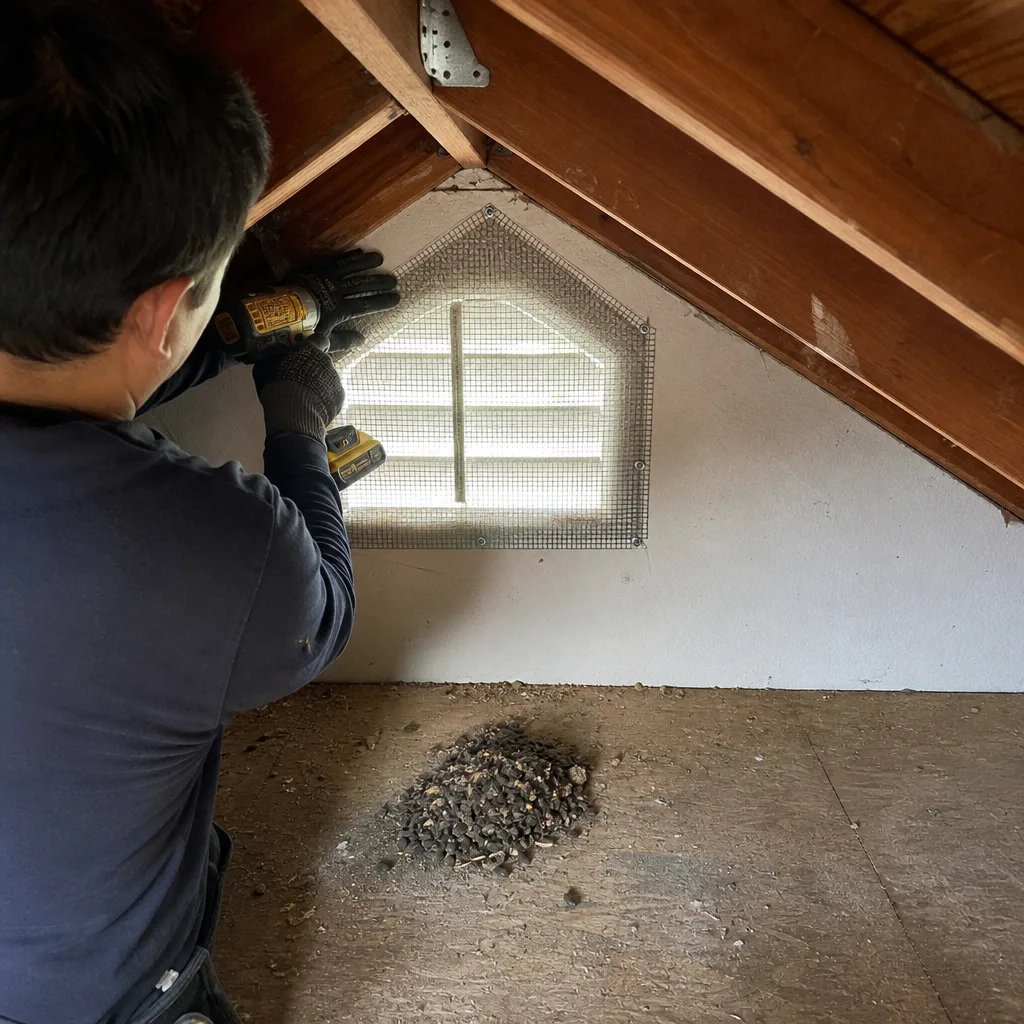
Here’s how most homeowners discover the problem: they climb up to grab holiday decorations, notice the foil hanging in sheets, or they open the electric bill in July and wonder what happened. Radiant barriers don’t fail loudly. They fail quietly, over years, and the first clue is usually heat you can feel radiating down through the ceiling on a 90-degree San Jose afternoon. By the time you see it sagging, it has already stopped doing its job.
Which Johns Manville Models This Applies To
Johns Manville sells radiant barrier products under a few different lines, and the compatibility question comes down to how the barrier was attached, not just whose name is on the box. The two most common we see in San Jose attics are the single-sided foil over kraft paper and the double-sided foil laminated to a scrim or woven core. The single-sided stuff gets stapled to the underside of rafters with the foil facing down into the attic air space. That’s the type that sags first, because the kraft backing absorbs moisture from attic humidity cycles and loses its stiffness over five to eight summers.
To identify what you’ve got, look for the printed Johns Manville logo on the kraft side, or check the edge of the foil for a product code. If you can’t find printing, measure the roll width: most Johns Manville radiant barrier came in 48-inch and 60-inch widths, and the 60-inch is far less common in retrofit installs around San Jose because older 1960s and 70s homes have rafter spacing that fights anything wider. One compatibility gotcha worth knowing: if your original install used a perforated barrier, the holes are there to let moisture through, which means it was designed for an unconditioned attic in a climate like ours. Don’t swap in a non-perforated product just because it’s cheaper. You’ll trap moisture against the roof deck and create a mold problem nobody wants to pay for later.
We’re an independent installer, not affiliated with Johns Manville, but we work with their materials daily and also carry Reflectix equivalents when a specific product line has been discontinued. On the OEM-versus-aftermarket question, for radiant barrier specifically, the aftermarket products we install perform just as well as the Johns Manville-labeled rolls when the foil reflectivity and perforation specs match. The brand name on a radiant barrier matters less than the attachment method and the ventilation layout. What you’re paying for on a retrofit is mostly labor, and that’s where the real difference shows up.
Signs Your Johns Manville Radiant Barrier Installation Is Failing
- Sagging or drooping foil between rafters. This is the big one. The staples have pulled through, the kraft backing has softened, or the barrier was installed without enough tension. Once it sags more than a couple of inches, the air gap that makes it work collapses and it stops reflecting heat.
- Tears running parallel to the seams. Foil-backed products are brittle at the edges. In San Jose’s dry summers, the kraft layer shrinks, the foil doesn’t, and the seam lines split. A six-foot tear isn’t worth patching when a full sheet replacement covers the same labor for a few dollars more.
- Visible dust or oxidation on the foil surface. If the shiny side has gone dull and gray in patches, the reflective emissivity has dropped enough that the barrier is doing maybe half its original job. That hazy film won’t wipe off and no cleaning product restores it.
- Staples pulling loose or popping out. This is a symptom of the rafters drying and shrinking, not just a bad install. Older San Jose homes with true 2×4 rafters shift more with seasonal humidity swings than newer engineered lumber. When the staples pop, the barrier drops, and the reflective surface tilts away from its intended angle.
- Higher upstairs temperatures than usual in late afternoon. If the second floor was manageable last summer and now feels like a bake oven at 5 pm, that’s your radiant barrier losing ground. Heat radiating through the ceiling is the exact thing a working barrier prevents.
Replacement Cost & What’s Included
For most San Jose homes between 1,200 and 2,400 square feet, a full radiant barrier replacement runs $1,500 to $3,800 depending on attic size, roof pitch, and accessibility. If we’re only replacing failed sections and the rest of the barrier is intact, the job lands on the lower end. If the attic is tight, has blown-in insulation we need to work around, or has multiple roof planes requiring custom cuts, it climbs.
Our pricing is upfront and line-itemed: material cost is broken out from labor, and you’ll see the exact square footage we’re covering before we start. Every job includes removal and disposal of the failed barrier, re-stapling or re-fastening at original points, sealing any access points we open, and a full cleanup. And like everything we install, the work is covered by our lifetime workmanship guarantee, the Done Right Promise. If it’s not done right, we make it right. No runaround, no arguing over what “right” means.
You’ll also get the standing offers Walt’s Insulation has always run: $40 off any repair over $200, a free second opinion on any written estimate you’ve gotten from another company, and no trip charge for any home inside our service county. Seniors and veterans always get 10% off, no expiration, no coupon clipping.
DIY or Call Us?
The honest answer is that radiant barrier replacement is physically demanding but not technically dangerous like garage door springs or electrical panels. The risks are cuts from foil edges, heat exhaustion in a 130-degree attic, and falling through a ceiling if you step between joists. If you’ve already got the material, a staple gun, and a second person to feed rolls, you can attempt it. But here’s what we regularly fix after DIY attempts: barriers stapled too loosely that sag within a year, barriers installed without the required air gap against the roof deck, and perforated products installed where they shouldn’t be, or vice versa. One afternoon of wrong installation means buying the material twice, and that’s assuming nobody gets hurt.
Do it right or do it twice, and we’d rather not see you twice. If you want it installed once, by a crew that’s been crawling through San Jose attics since 2000, call (408) 837-7384 and we’ll give you a straight quote.
FAQs
A properly installed Johns Manville radiant barrier in a San Jose attic typically lasts 10 to 15 years before it needs replacement. The main lifespan killers here are attic heat cycling in summer, low humidity that makes the kraft backing brittle, and poor ventilation that traps moisture against the foil. Most San Jose homes we see need replacement at the 8 to 12 year mark. Call (408) 837-7384 if yours is showing lag or sagging.
Small tears can be patched with foil tape, and single popped staples can be re-driven if the surrounding material is still firm. But once the kraft backing is brittle or sections are sagging more than a few inches, patching buys you a season at best and the repair cost approaches the cost of replacing those sheets properly. We’ll tell you honestly whether a repair makes sense or whether replacement is cheaper in the long run.
A standard single-story San Jose home with reasonable attic access takes one full workday, usually 6 to 9 hours depending on attic size and complexity. Two-story homes or attics with multiple roof planes can stretch into a second day. We’ll give you a time window before we start, and we show up when we say we will.
We keep Johns Manville-compatible radiant barrier in 48-inch and 60-inch widths on our trucks, along with Reflectix equivalents for discontinued product lines. For most San Jose attics, we have what we need loaded before we arrive. If your home needs a specialty spec, we’ll flag that during the estimate so there’s no second trip.
Call Walt’s Insulation for Radiant Barrier Work in San Jose
We’re the one down the road. Locally owned and owner-operated since 2000, with a published address in the area and a license number you can verify, not an 800 number that rings who knows where. I’m Walt Brenner, and when you call (408) 837-7384, a live person answers – 24 hours a day, seven days a week. No answering service, no “press 1 for…” menu, no voicemail at 2 pm on a Tuesday. We’ll talk through what you’re seeing, give you an honest price range over the phone, and schedule a visit with a background-checked, uniformed technician who shows up with the right material on the truck. Estimates are free, the work is guaranteed for life, and if it’s not done right, we make it right. That’s been the deal since day one.
Written by Walt Brenner, Owner, Walt’s Insulation at Walt’s Insulation, serving San Jose and nearby areas.